Loading... > 振奋人心的消息,Vocechat支持webhook及机器人了,且机器人数量无上限 可以通过webhook来实现诸如ChatGPT文字对话,Dalle文生图,批量发卡等等任何场景 VoceChat支持的API众多。可以自行在你的api页面查看和测试 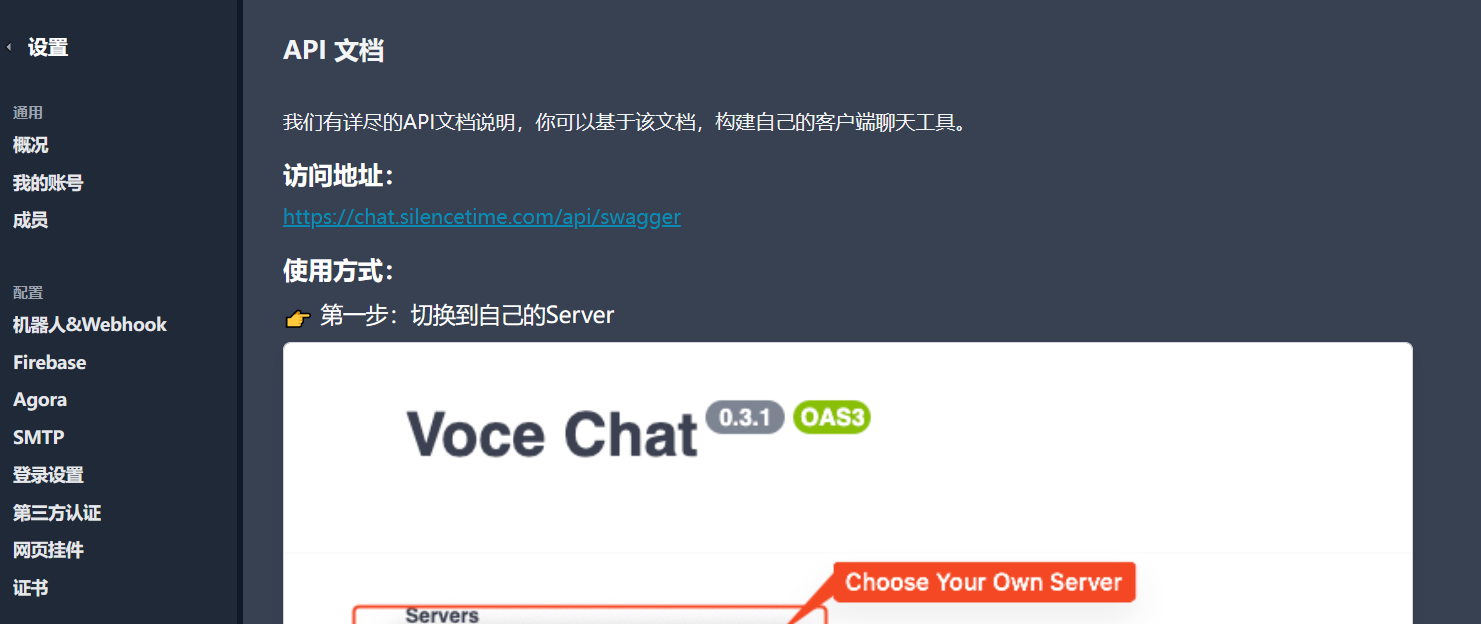 ### 搭建机器人 先可以查看一下官方的文档[机器人与Webhook | VoceChat](https://doc.voce.chat/zh-cn/bot-and-webhook) > 注意,需要先把机器人的服务先跑起来才能添加机器人 群晖Docker搜索code-server  下载完成后启动,点击高级设置 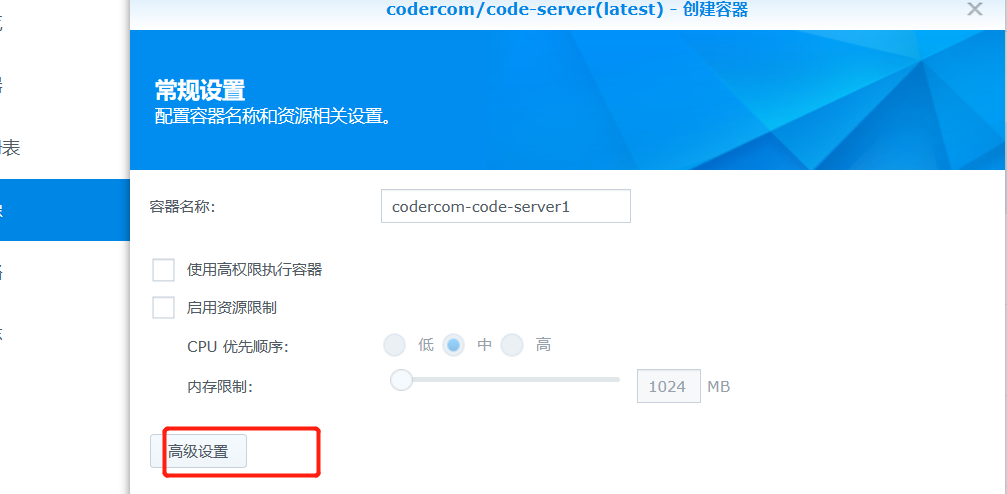 挂载目录,注意需要把群晖里的挂载文件夹coder设置为所有人都可以读写的权限  端口映射 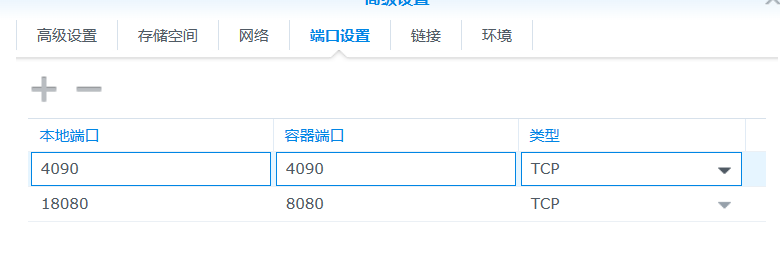 其中4090作为你的机器人端口,18080作为code-server的端口 浏览器打开`http://你的群晖ip:18080`,这时候要你输入密码,打开之前映射的.config文件夹,复制密码字段即可 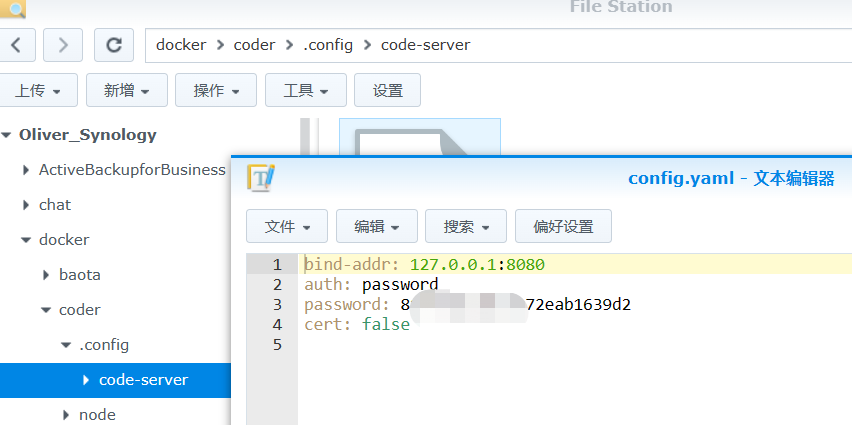 新建一个项目bot 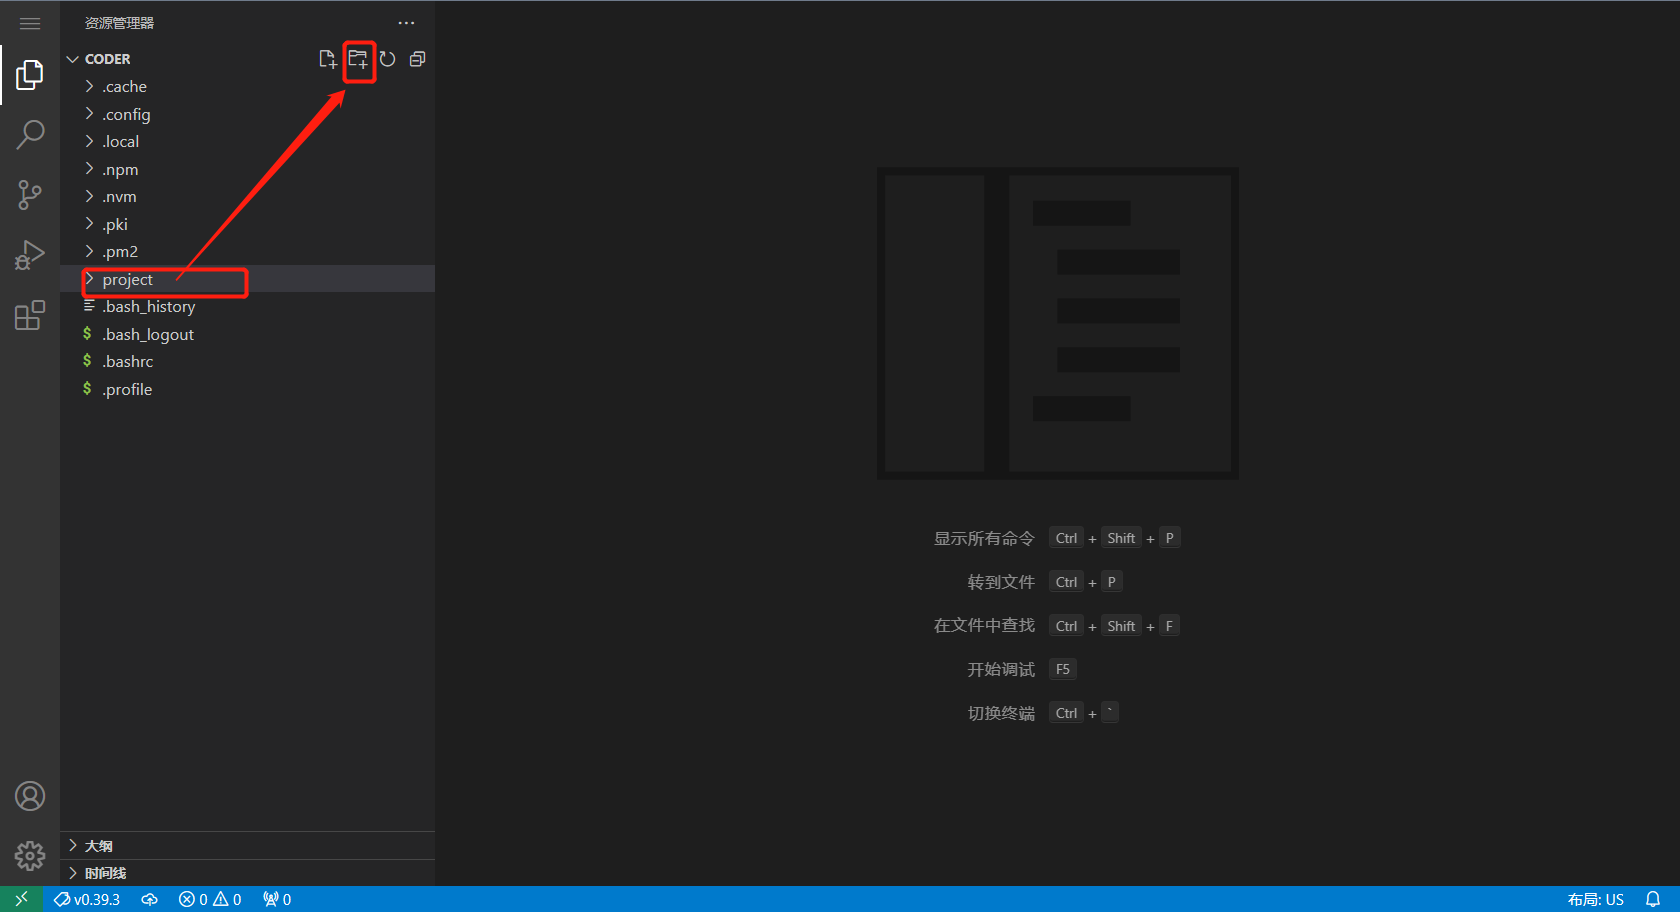 新建`index.js` ```javascript import express from "express"; const app = express() const port = 4090 import dotenv from 'dotenv-safe' dotenv.config() app.use(express.json()) // for parsing application/json app.use(express.urlencoded({ extended: true })) // for parsing application/x-www-form-urlencoded app.get('/demo', async (req, res) => { res.status(200).send({ msg: 'secuccess' }) // 随便返回个啥,不然机器人发报错信息 }) app.post('/demo', async (req, res) => { res.status(200).send({ msg: 'secuccess' }) // 随便返回个状态码,不然有惊喜 const { created_at: createdAt, detail: { content, content_type: contentType, type }, from_uid: fromUid, mid, target: { uid: targetUid } } = req.body; await sendMessage(fromUid, `Get Your message:${content}`) }) const sendMessage = async (userID, message) => { let post_url = `${process.env.VOCEBOT_API_URL}${userID}` let options = { headers: { "Content-Type": "text/markdown", "x-api-key": process.env.VOCEBOT_API_KEY, "accept": 'application/json; charset=utf-8', }, } try { await axios.post(post_url, `${message}`, options) } catch (error) { console.error(error); } } app.listen(port, () => { console.log(`service working on port ${port}`) }) ``` 新建`package.json` ```json { "name": "bot_pass", "version": "1.0.0", "description": "", "main": "index.js", "type": "module", "scripts": { "test": "echo \"Error: no test specified\" && exit 1" }, "keywords": [], "author": "", "license": "ISC", "dependencies": { "dotenv-safe": "^8.2.0", "express": "^4.18.2" } } ``` 新建`.env.example` ```javascript VOCEBOT_API_URL = VOCEBOT_API_KEY = ``` 新建`.env` ```javascript VOCEBOT_API_URL = "http://你的群晖IP:3009/api/bot/send_to_user/" VOCEBOT_API_KEY = "先随便填个" ``` 呼出控制台,右键点击bot文件夹 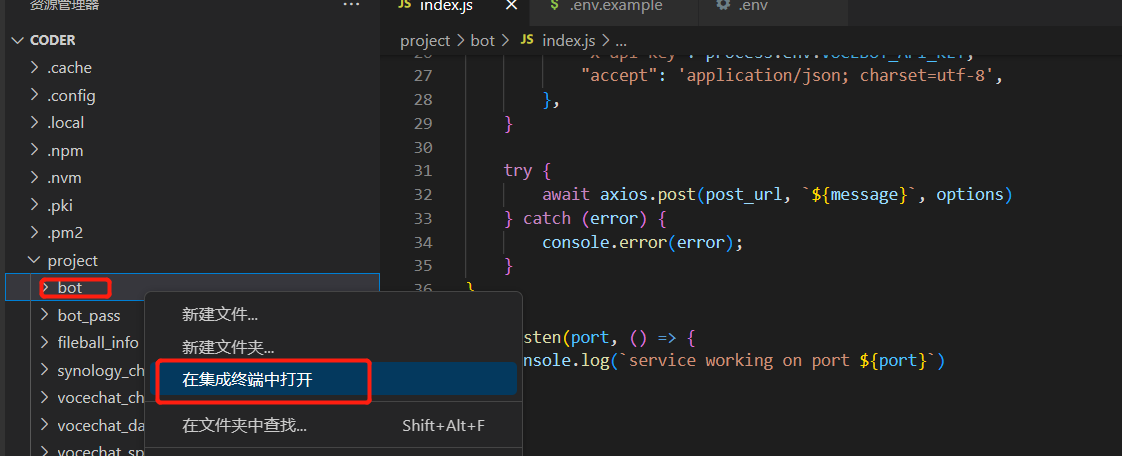  安装Node.js 安装NVM `curl -o- https://raw.githubusercontent.com/nvm-sh/nvm/v0.39.3/install.sh | bash` 安装node18 `nvm install 18` 安装pm2 `npm i pm2 -g` 安装依赖 `npm i` 启动项目 `pm2 start index.js --name demo --watch` 这时候机器人接口已经跑起来了。 转回VoceChat的设置页面,添加机器人 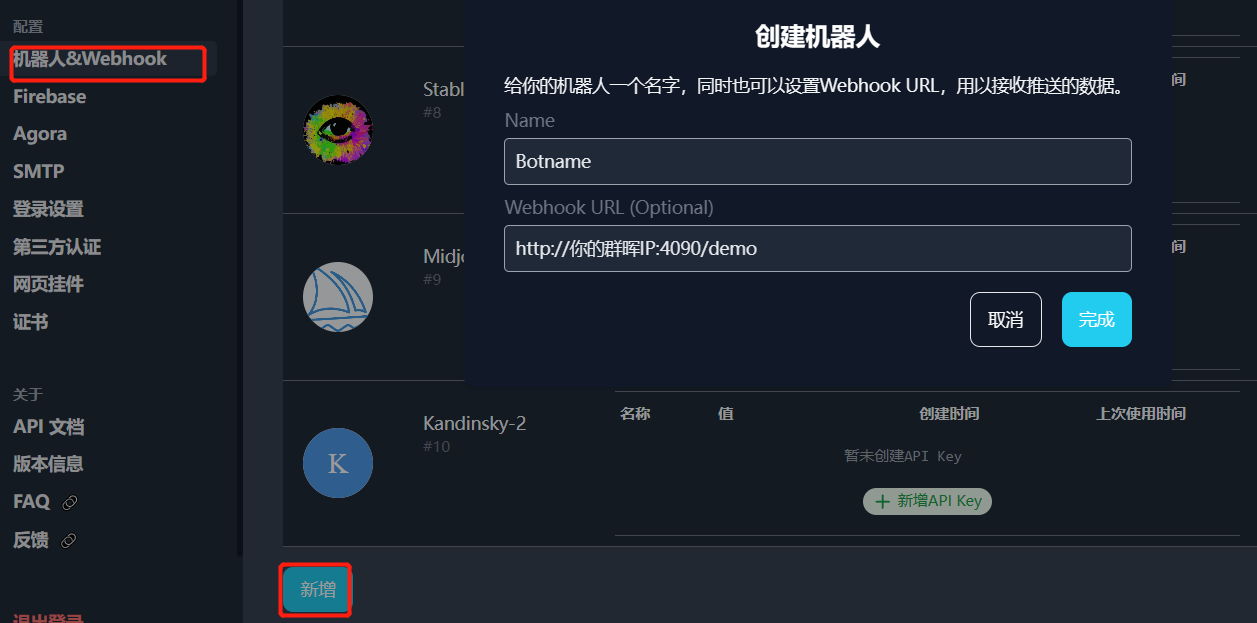 新增API KEY 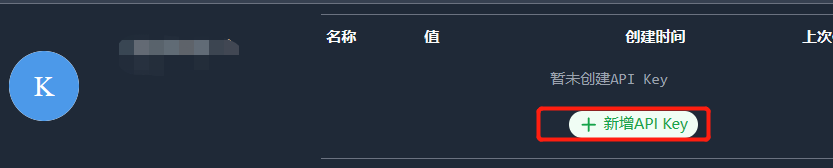 复制api key到node项目的`.env`文件  重启node服务 `pm2 reload demo`  这时候,在vocechat里给机器人发送消息,就会得到回复了 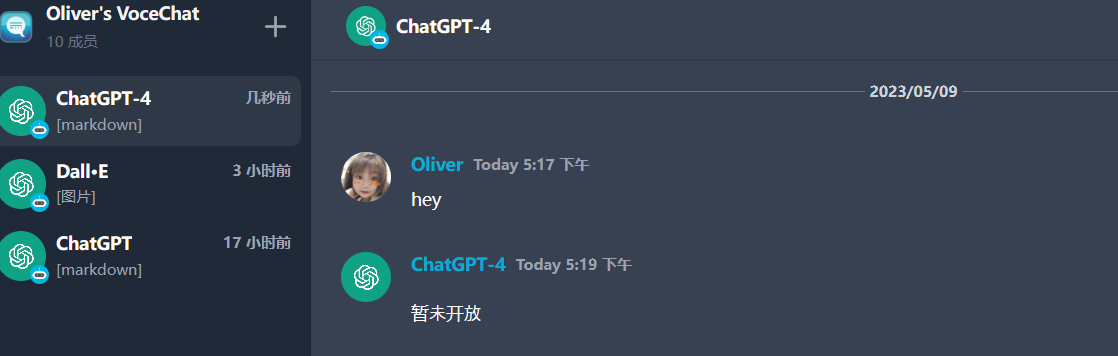 至此,机器人搭建完成。 ### 我的VoceChat ChatGPT项目 如果你想搭建chatGPT Bot,可以去我的[群晖下搭建支持多用户的上下文 vocechat chatgpt 机器人 (github.com)](https://github.com/oyzbmmmm/Vocechat-chatGPT-bot) 欢迎Star 最后修改:2023 年 05 月 09 日 © 允许规范转载 打赏 赞赏作者 支付宝 赞 0 如果觉得我的文章对你有用,请随意赞赏

3 条评论
还是不会,能不能微信教教我?
这个vocechat机器人相比较群晖的chat机器人有啥区别呢?
群晖的chat只支持5个,且群晖chat的消息有长度限制,你发送gpt4的长文回复,只能分成2段来发,